


Image Classifier with VGG16
- saman aboutorab
- Jan 4, 2024
- 1 min read

Updated: Jan 8, 2024
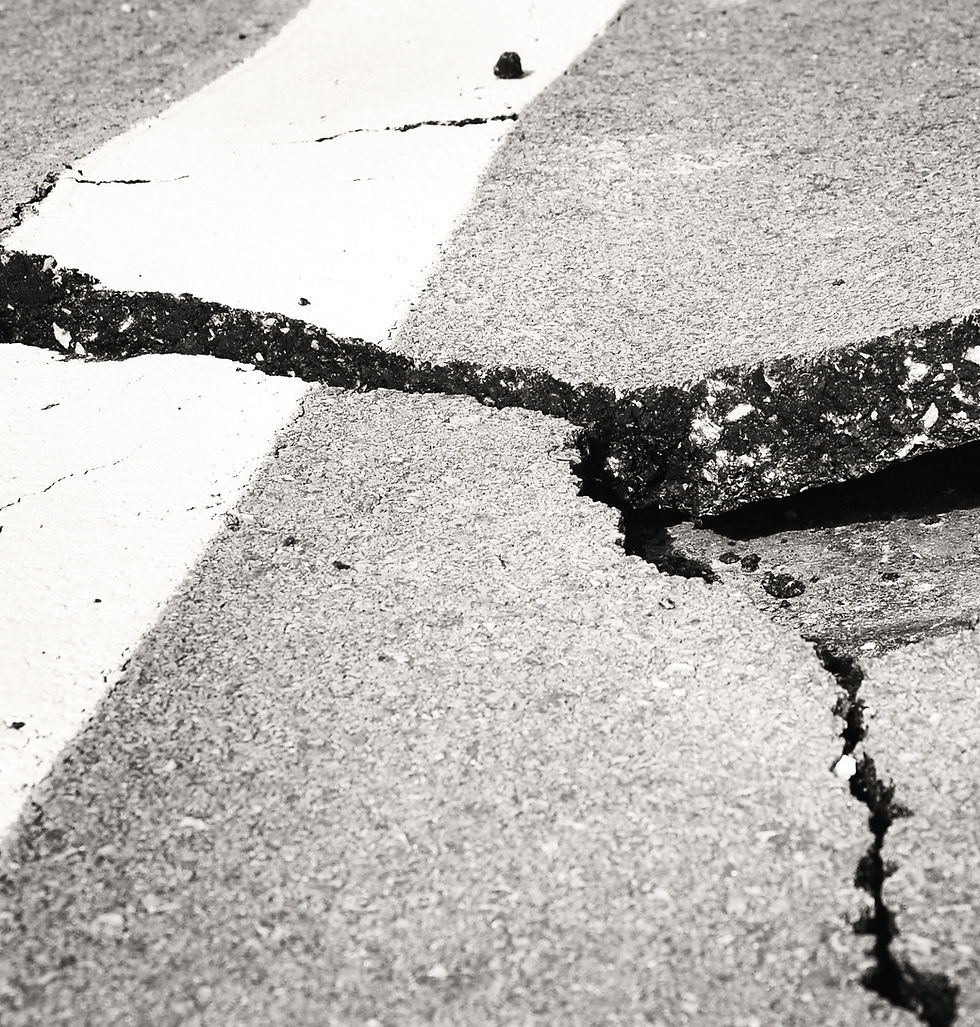
This project centers around the development of an image classifier specifically designed to identify instances of cracked concrete. Leveraging the VGG16 pre-trained model as the backbone, we aim to build a robust and accurate classifier capable of recognizing patterns indicative of concrete surface damage. The utilization of pre-trained models like VGG16 streamlines the training process, enabling our model to effectively learn and generalize from a vast array of image features. Furthermore, we will rigorously evaluate the performance of this VGG16-based classifier and draw comparisons with the model constructed in the previous module, which utilized the ResNet50 pre-trained model. By assessing and contrasting the two models, we seek to gain insights into their respective strengths and weaknesses, ultimately refining our approach to image classification, particularly in the context of detecting cracks in concrete structures.
!pip install skillsnetwork
import skillsnetwork
from keras.preprocessing.image import ImageDataGenerator
import keras
from keras.models import Sequential
from keras.layers import Dense
import numpy as np
#Import VGG16 Model
from tensorflow.keras.applications.vgg16 import VGG16
from keras.applications import VGG16
from tensorflow.keras.applications.vgg16 import preprocess_input#Import Resnet50 Model
from tensorflow.keras.applications.resnet50 import ResNet50
from tensorflow.keras.applications import ResNet50
from tensorflow.keras.applications.resnet50 import preprocess_inputImport Data## get the data
await skillsnetwork.prepare("https://s3-api.us-geo.objectstorage.softlayer.net/cf-courses-data/CognitiveClass/DL0321EN/data/concrete_data_week4.zip", overwrite=True)Part 1 - VGG16 ModelIn this part, we will design a classifier using the VGG16 pre-trained model. Just like the ResNet50 model, we can import the model VGG16 from keras.applications. We will essentially build our classifier as follows:
Define Global Constantsnum_classes = 2
image_resize = 224
batch_size_training = 100
batch_size_validation = 100Construct ImageDataGenerator Instancesdata_generator = ImageDataGenerator(
preprocessing_function=preprocess_input,
)Train datatrain_generator = data_generator.flow_from_directory(
'concrete_data_week4/train',
target_size=(image_resize, image_resize),
batch_size=batch_size_training,
class_mode='categorical')Found 30001 images belonging to 2 classes. Validation Datavalidation_generator = data_generator.flow_from_directory(
'concrete_data_week4/valid',
target_size=(image_resize, image_resize),
batch_size=batch_size_training,
class_mode='categorical')Found 9501 images belonging to 2 classes. Build, Compile and Fit Modelmodel_VGG16 = Sequential()model_VGG16.add(VGG16(
include_top=False,
pooling='avg',
weights='imagenet',
))model_VGG16.add(Dense(num_classes, activation='softmax'))model_VGG16.layers[0].trainable = Falsemodel_VGG16.summary() model_VGG16.compile(optimizer='adam', loss='categorical_crossentropy', metrics=['accuracy'])steps_per_epoch_training = len(train_generator)
steps_per_epoch_validation = len(validation_generator)
num_epochs = 2Fit the Modelfit_history = model_VGG16.fit_generator(
train_generator,
steps_per_epoch=steps_per_epoch_training,
epochs=num_epochs,
validation_data=validation_generator,
validation_steps=steps_per_epoch_validation,
verbose=1,
)Test Datatest_generator = data_generator.flow_from_directory(
'concrete_data_week4/test',
target_size=(image_resize, image_resize),
batch_size=batch_size_training,
class_mode='categorical')Found 500 images belonging to 2 classes. Scorescores_VGG16 = model_VGG16.evaluate_generator(test_generator)
scores_VGG16[0.017426954582333565, 0.9959999918937683]print('The performance for VGG16 model:')
print(f"Loss: {scores_VGG16[0]}")
print(f"Accuracy: {scores_VGG16[1]}")The performance for VGG16 model: Loss: 0.017426954582333565 Accuracy: 0.9959999918937683 model_VGG16.save('classifier_VGG16_model.h5')Part 2 - ResNet50 ModelIn this part, we will evaluate deep learning models on a test data. For this part, we will need to do the following:
Load ResNet50 Modelmodel_ResNet50 = keras.models.load_model('classifier_Resnet50_model.h5')Scorescores_ResNet50 = model_ResNet50.evaluate_generator(test_generator)
scores_ResNet50[0.0025083557702600956, 1.0]print('The performance for ResNet50 model:')
print(f"Loss: {scores_ResNet50[0]}")
print(f"Accuracy: {scores_ResNet50[1]}")The performance for ResNet50 model: Loss: 0.0025083557702600956 Accuracy: 1.0 model_ResNet50.save('classifier_Resnet50_model.h5')Part 3 - PredictIn this model, we will predict whether the images in the test data are images of cracked concrete or not. We will do the following:
predict_ResNet50 = model_ResNet50.predict_generator(test_generator)predict_VGG16 = model_VGG16.predict_generator(test_generator)def pred(x):
for i in x:
j=np.argmax(i)
if(j==0):
print("Negetive")
else:
print("Positive")ResNet50 Predictionpred(predict_ResNet50[0:5])Negetive Negetive Negetive Negetive Negetive VGG16 Predictionpred(predict_VGG16[0:5])Negetive Negetive Negetive Negetive Negetive Test datapred(test_generator.next()[1][0:5])Negetive Negetive Negetive Negetive Negetive |
Conclusion
If we compare the two models of VGG16 and ResNet50, we can see that the loss factor is much lower in ResNet50 model with higher accuracy.
VGG16 model:
Loss: 0.017426954582333565
Accuracy: 0.9959999918937683
ResNet50 model:
Loss: 0.0025083557702600956
Accuracy: 1.0
Both models correctly predicted the test data to be Negative, eqaul to what we have in the test data.
Reference:
This notebook is part of a course on Coursera called AI Capstone Project with Deep Learning. If you accessed this notebook outside the course, you can take this course online by clicking here.
Copyright © 2020 IBM Developer Skills Network. This notebook and its source code are released under the terms of the MIT License.


Comments